 EcorisMap
CHAPTER 13
3D View and Vistas
You can show the terrain in 3D and check maps and data on it. With “View from here”, you can see the landscape from the eye level of a point you long-press, along with the names of the mountains in view.
Switching to the 3D view
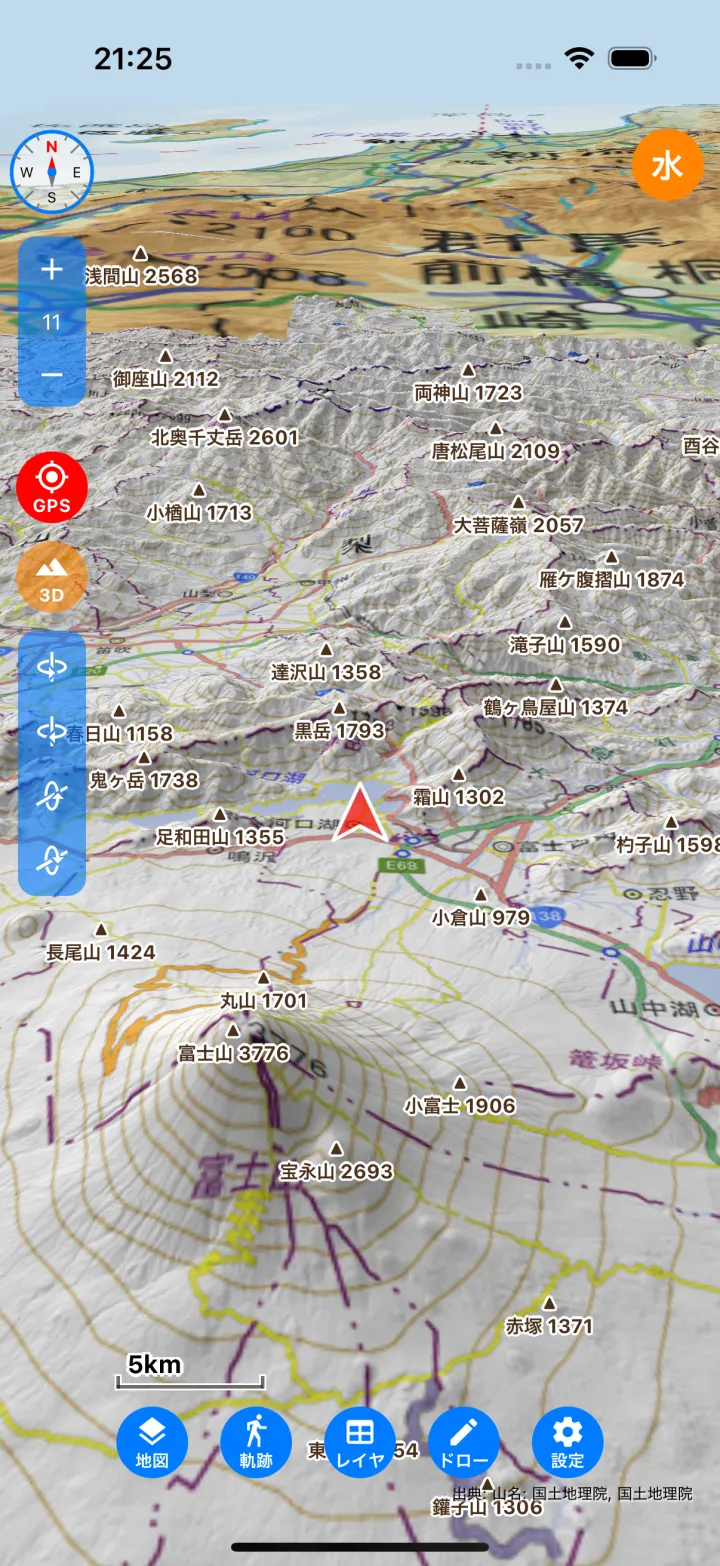
- Tap the 3D button on the left of the map to switch to the 3D view. The button turns orange while the 3D view is on; tap it again to return to 2D.
- The maps you are showing (tile maps and PMTiles) are draped over the terrain, and your layer data (points, lines and polygons), your GPS location and the track being recorded are also shown in 3D.
- The Google standard map and satellite imagery cannot be shown in 3D, so in the 3D view they are replaced with the GSI standard map and seamless aerial photos.
- Drawing is done in 2D. Opening the drawing panel returns to 2D.
- On devices that do not support the 3D view, the 3D button is not shown.
Operating the 3D view
- Drag with one finger — Move the map.
- Pinch — Zoom in and out.
- Twist with two fingers — Rotate the map.
- Drag up or down with two fingers — Tilt the map.
- The rotate and tilt buttons on the left also rotate and tilt the map, for one-handed use.
- Tap the compass to return to north up.
- Tap a feature to show its attributes, as in 2D.
- Long-press to open a popup where you can choose “View from here”. Viewsheds and distance measurement are used in 2D.
View from here
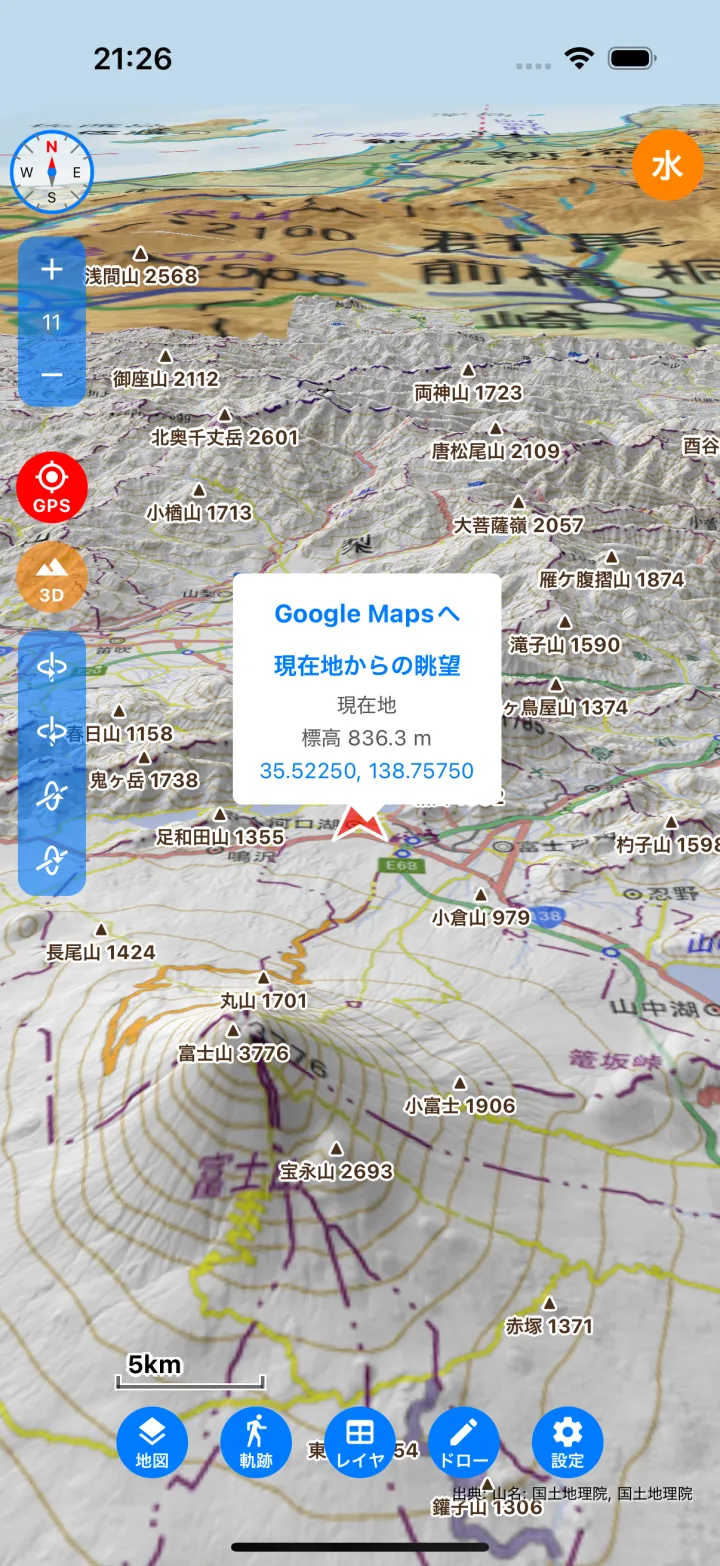
- Long-press the point you want to look out from, on the 2D or 3D map.
- Tap View from here in the popup. If your GPS location is shown and you long-press near it, the item becomes View from my spot and the view is taken from your current location.
- The view is shown from eye level at that point (1.7 m above the ground), facing north.
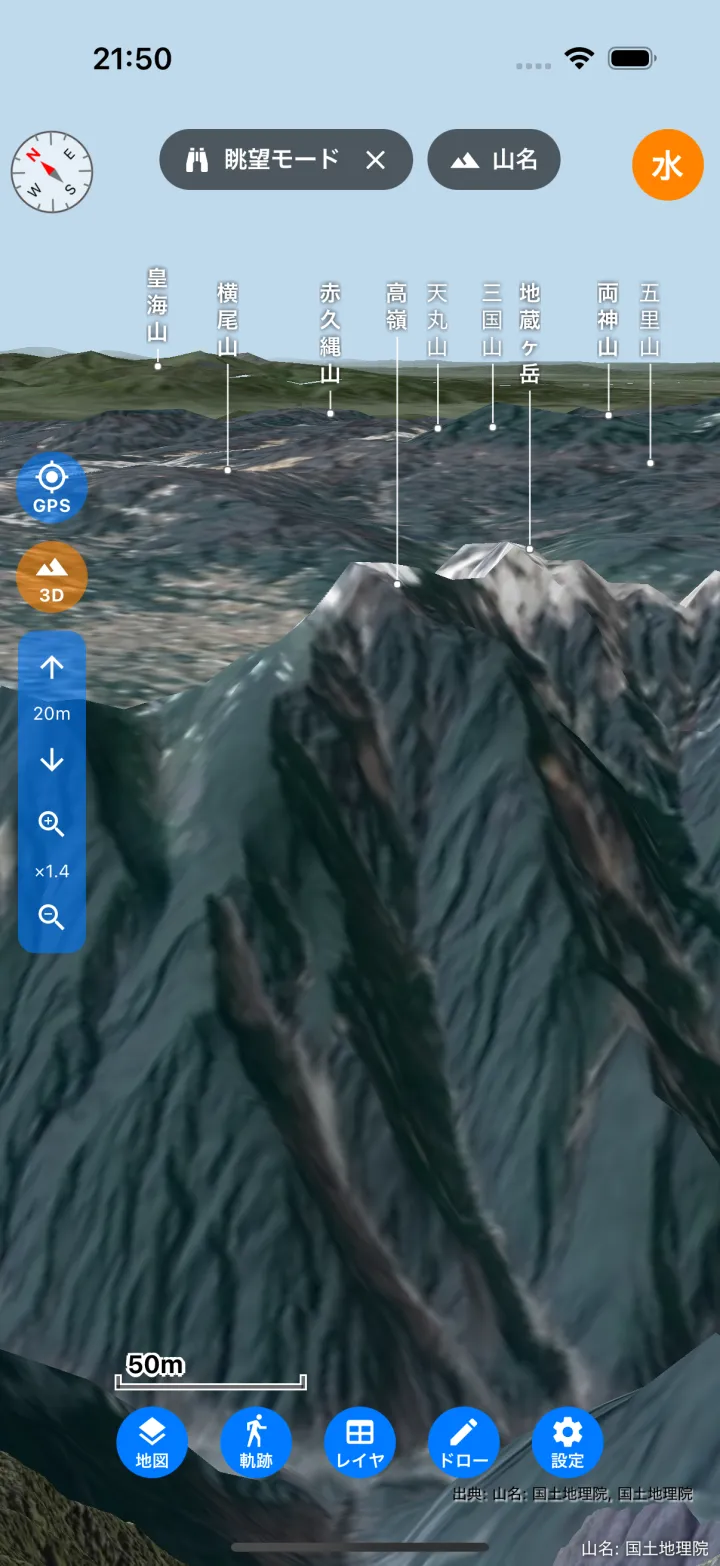
While in this view, you can:
- Drag — Look around from where you stand. The map does not move.
- ↑↓ buttons — Change the eye height (up to 5000 m). Raise it when a nearby ridge or forest blocks the view.
- Magnifier buttons — Switch between telephoto and wide angle. In telephoto, distant mountains in the viewing direction are drawn in more detail.
- Peak names — The names of the mountains in view are shown. Tap a name to show its elevation and distance. The “Peaks” button at the top turns them on and off.
- Compass — Tap it to make the view turn with the direction your device faces. Tap it again to stop. In “View from my spot”, your standing position also follows your current location as you move.
- Tap Vista mode × at the top to leave the view.
Note: “View from here” is also available in the web version (Review & Fix in the Web Version).
Showing peak names
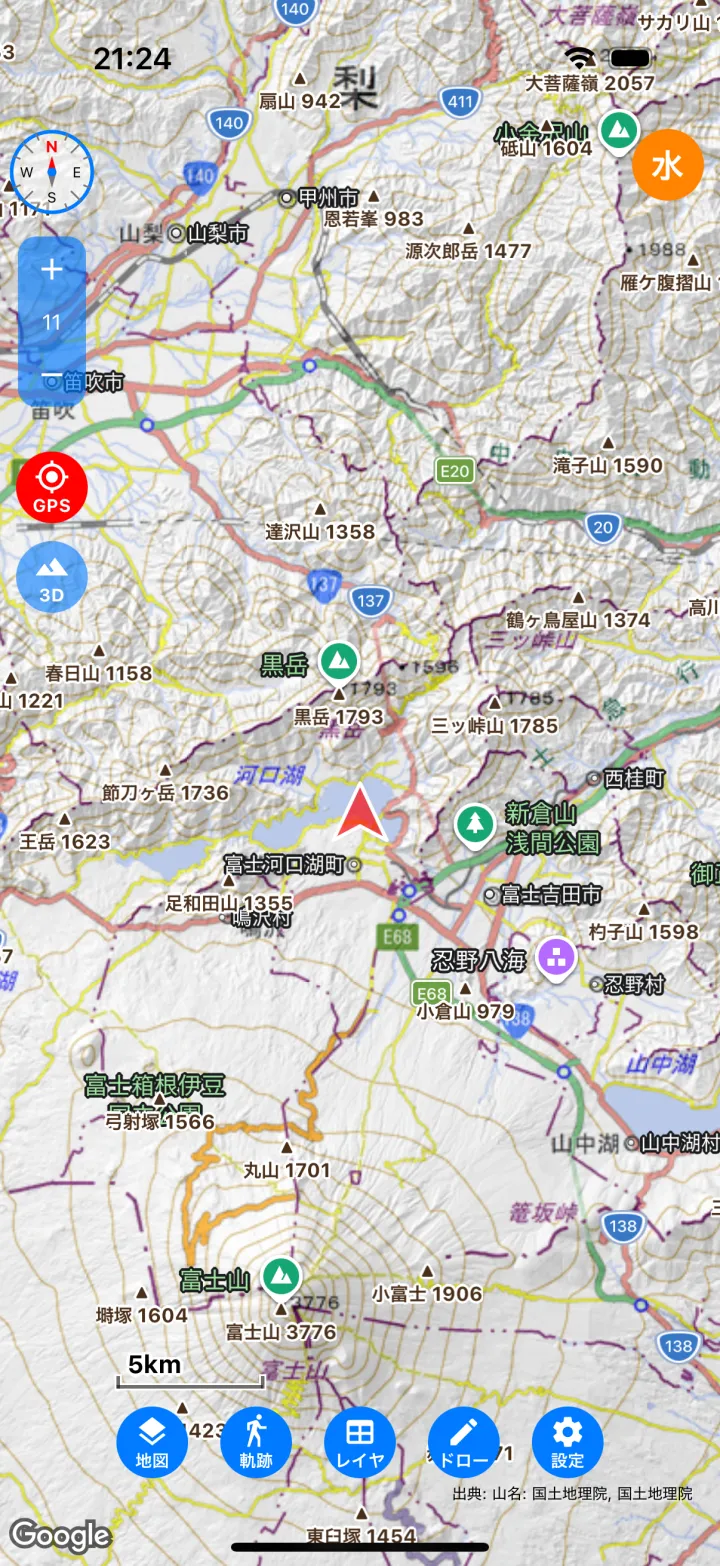
- When adding a map, choose the preset 山名(国土地理院) (peak names) to show peak names (▲, name and elevation) on the 2D map and in the 3D view (Set Up Maps). You can turn them on and off in the map list.
- In “View from here”, peak names are shown even without this map.
- Peak names are not included in PDF exports.
Elevation data and offline use
- Elevation data for the 3D view and vistas is downloaded from the internet. Loaded data is stored on the device, so it shows faster next time.
- To use them where there is no signal, download Elevation tiles (viewshed & 3D) in download mode beforehand (Download Maps for Offline Use). The surrounding area is also downloaded at a coarser resolution so that you can see far in 3D.
- When the “GEBCO海底地形図(全球)” (GEBCO bathymetry) map is shown, the seafloor terrain is also shown in 3D. Depths below sea level are exaggerated to make the relief easier to see.
- Elevation data is the height of the ground surface and does not include trees or buildings.